Store designing is the most important phase for any eCommerce business. It’s because the storefront helps online shoppers to decide whether to trust the store or not. To make store designing and customization more interesting and efficient, Shopify has upgraded its theme editor with the Shopify Section & Blocks. Here, we’ll learn more about the sections & blocks and also see how to add dynamic content (connect dynamic sources) to the theme templates using the “Shopify Section Blocks”.
Basically, Shopify themes come with a default layout. You just need to fill in the right content and add the links for navigation. But with the help of Shopify sections and blocks, you can personalize the theme layout to match your desired storefront.
Let’s dig more into the topic to understand the “Shopify section everywhere” concept and the right use of the Sections & Blocks to improve the user experience.
Introduction to Shopify Section
Shopify Section gives you access to a specific area in the theme template with some customization options. A theme template (of any page) is a collection of one or more sections that allow you to design the layout of an entire page.
When customizing any section, you have control over various settings and input options like text box, image picker, custom HTML, and so on. Shopify offers different types of sections like slideshow, collage, featured products, and many more.
Shopify Section Blocks
Now, these sections are made up of multiple small components known as “Blocks”. Based on the type of section we create, we can add different types of Shopify blocks inside the section.
What is the maximum Shopify section block limit?
The maximum limit of the Shopify section is 20 in Online Store 2.0 themes whereas the traditional Shopify themes (such as Debut, Simple) let you add 25 sections. The maximum block limit in Shopify depends on the sections. For example, you can add up to 12 blocks in the Announcement bar and up to 16 blocks in the Collection List section.
Let’s see which in-built sections and blocks are available in the Shopify theme to customize the page template.
Types of Shopify Sections & Blocks
Here are the different types of Shopify sections you can find in your 2.0 theme editor. In each section, you can find various Shopify section block types.
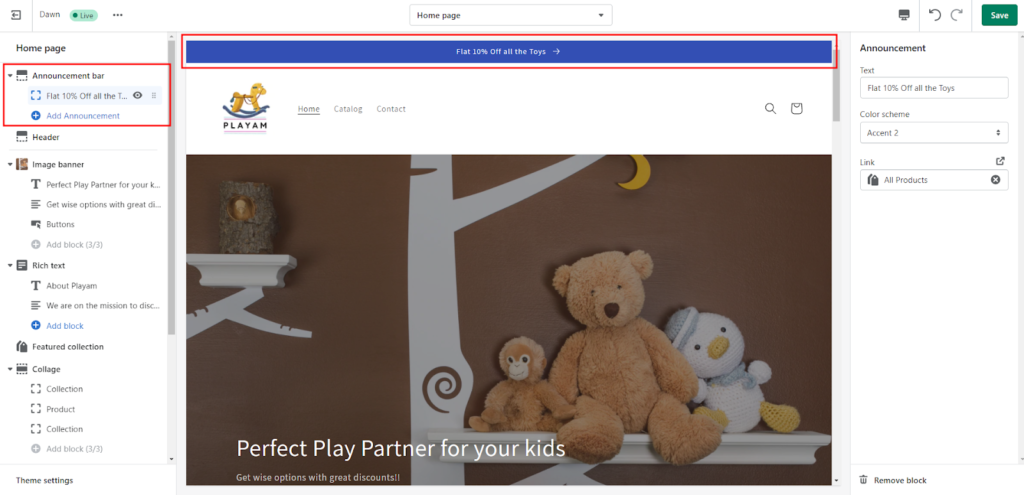
Announcement bar
This section lets you add important information that you want to highlight about your store. You can use the announcement bar section to show the latest news, upcoming events, or ongoing sale.
You can add up to 12 announcement blocks to your theme and also control which announcement to show on a specific page.
Header
The header section lets you customize the header portion of your eCommerce website. This section includes your business name or logo, menu bar, and various customization options.
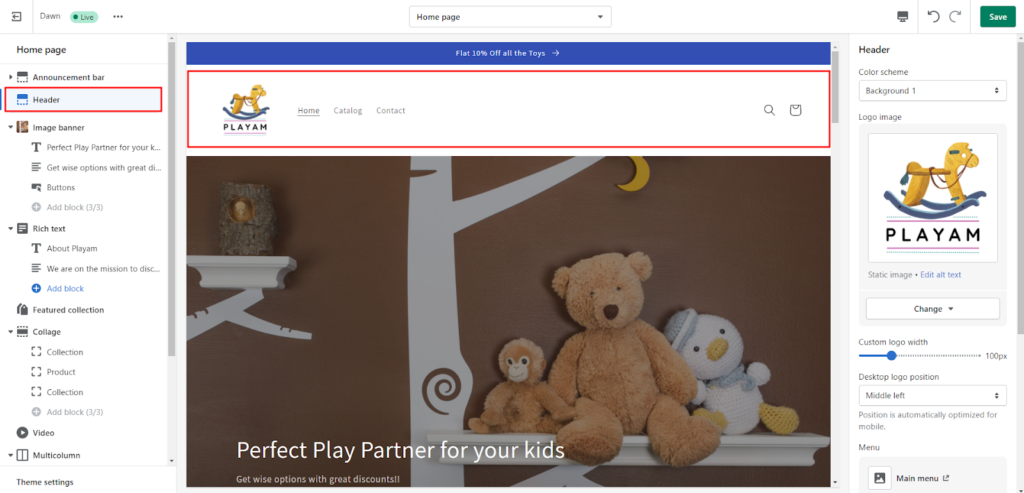
The announcement bar and Header sections display at the top of every page. You cannot hide or change its position in your theme.
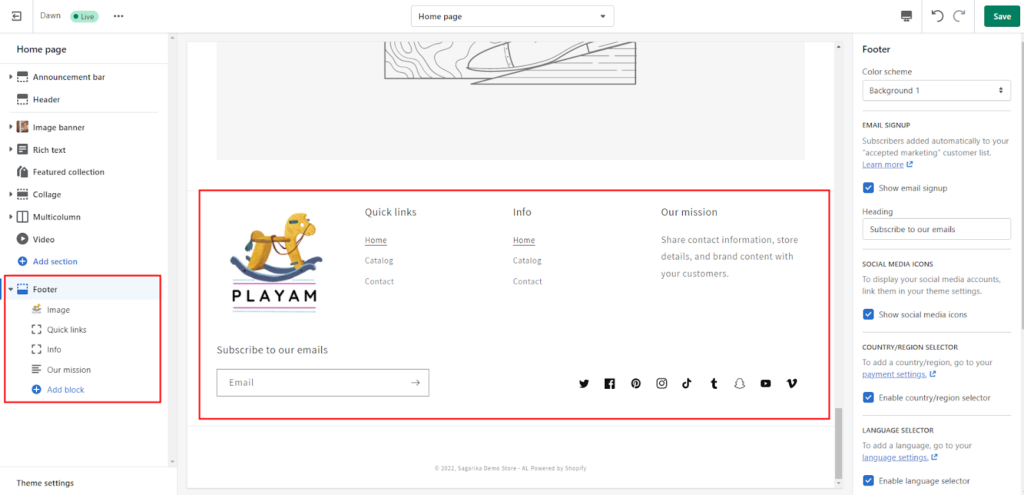
Footer
The footer section is visible at the bottom of every page on your site. Here you can show important page links, social media links, payment icons, newsletter signup, and many more. This section allows you to add various Shopify section blocks such as an image, menu, and text.
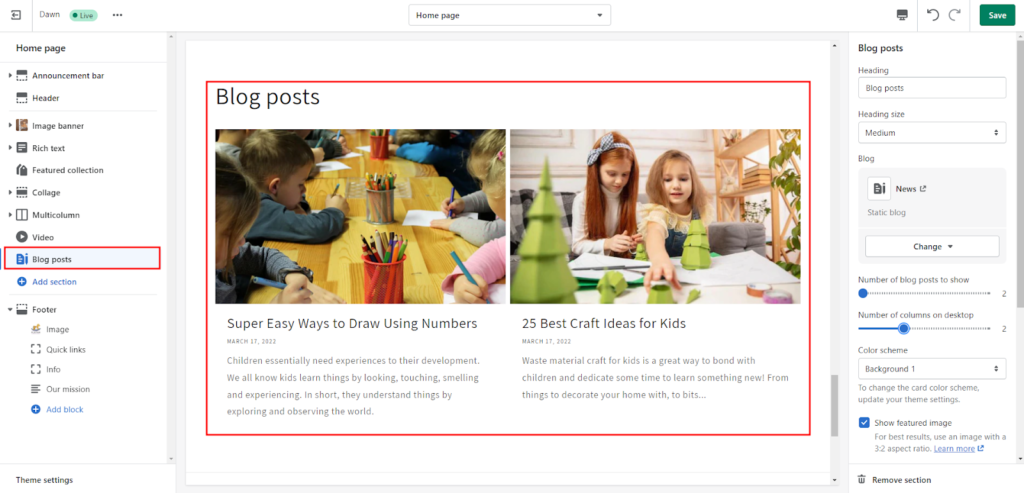
Blog posts
This section helps you to display a list of blog posts or articles in a row. If you have different blog post categories, then you have to select the one that you want to show in this section. You can also set the number of posts to display in the section. The maximum number of posts is 4.
Multimedia Collage
Collage is all you need to have a beautiful multimedia representation in your store. This section allows you to make a collage of any 3 blocks from an image, video, product, or collection. You can also use multiple images or multiple collections in a single collage whatever suits your requirements.

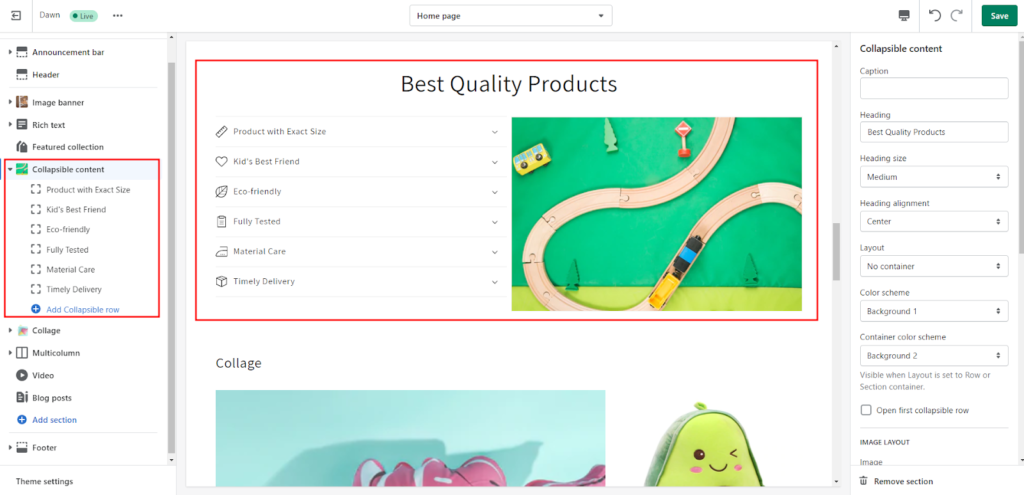
Collapsible content
This section helps you to organize your content in multiple collapsible tabs (also known as “accordion tabs”). The Collapsible content lets you add rows of content that can be collapsed and expanded and a banner image to support the content.
This section is mainly used for showing product information or the FAQ section.
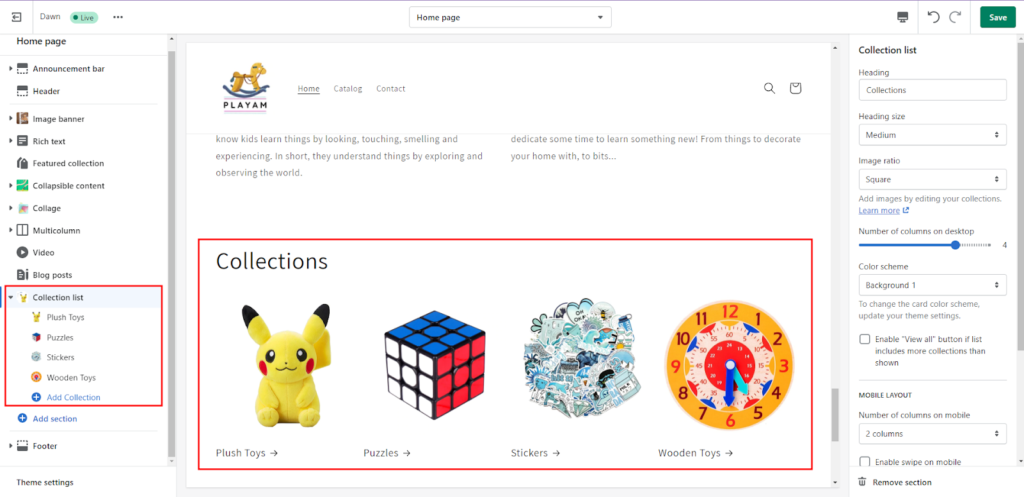
Collection list
You can use the collection list section when you wish to show or highlight multiple collections at once. This section lets you add a list of collections up to 16 to display as the Shopify section blocks.
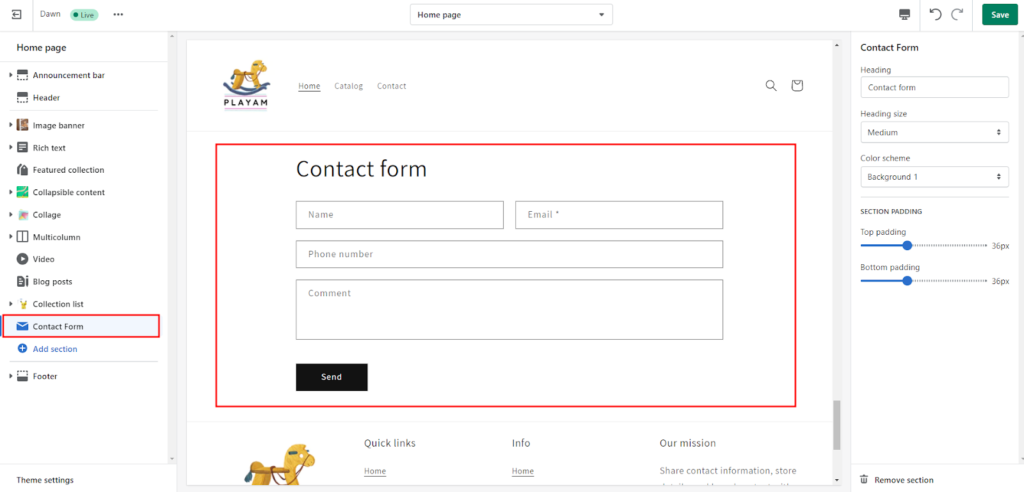
Contact form
Using this section you can allow your users to reach you quickly. The contact form is basically found on the “Contact Us” page. But thanks to the Online Store 2.0 features, you can now add the contact form section anywhere in your theme.
This form has fields like Name, Email, Phone Number, and Comment or Message. All the data submitted by the site visitors will be sent to your “Sender” email address of your Shopify admin.
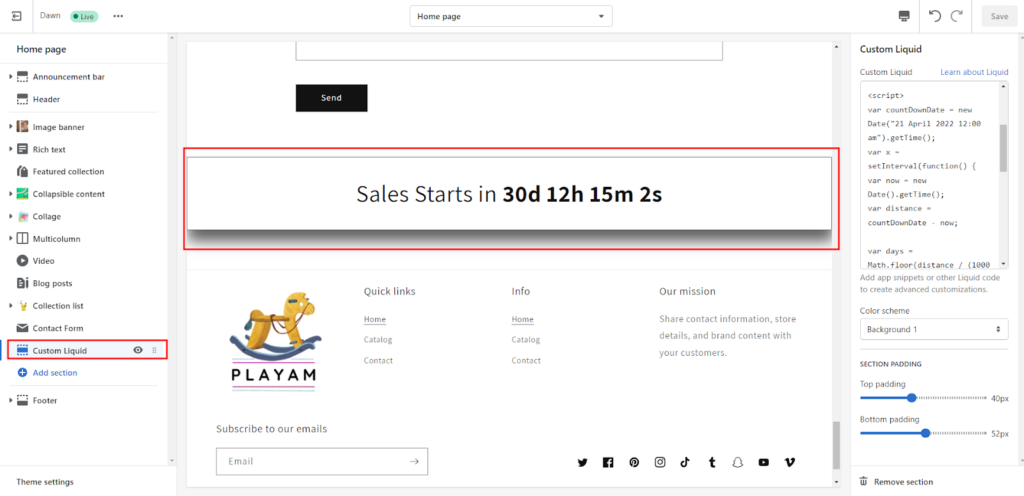
Custom Liquid
If you want to create a custom section inside your theme, the Custom Liquid section can help you. This section allows you to add liquid code or HTML to your theme template and extend your theme with additional features.
Example: Here I have added a countdown timer to the Homepage to notify the visitors about the Sale.
Email signup banner
Email signup banner is available in the Password page template of your theme. This section allows your customers to enter their email addresses and create customer accounts. Therefore, they will be notified when your store gets open.
This section is by default added to the Password page. Go to the password template to customize it.

Email signup
The Email signup section helps you to ask your visitors to subscribe to your newsletter or other emails for the latest updates or promotions. You can add this section anywhere in your store theme.

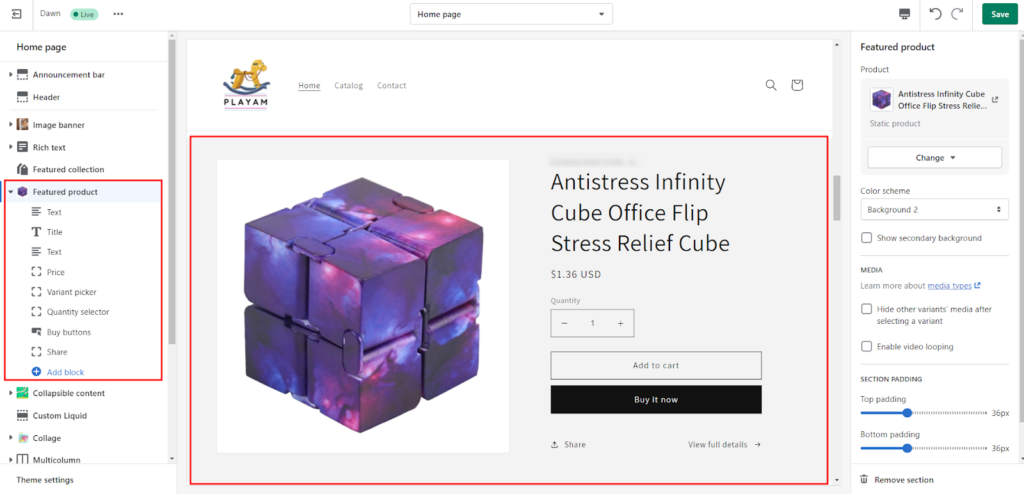
Featured product
The featured product section offers a great way to highlight or promote a specific product or service anywhere on your theme. When you add this section, you need to select a product that you want to show as a featured product.
Featured collection
If you want to highlight a specific product category or collection on a page, this section is all you need to add to your theme template. Here you need to select a collection you want to show as a featured collection. You can also specify the number of products you want to show and customize the product grids.
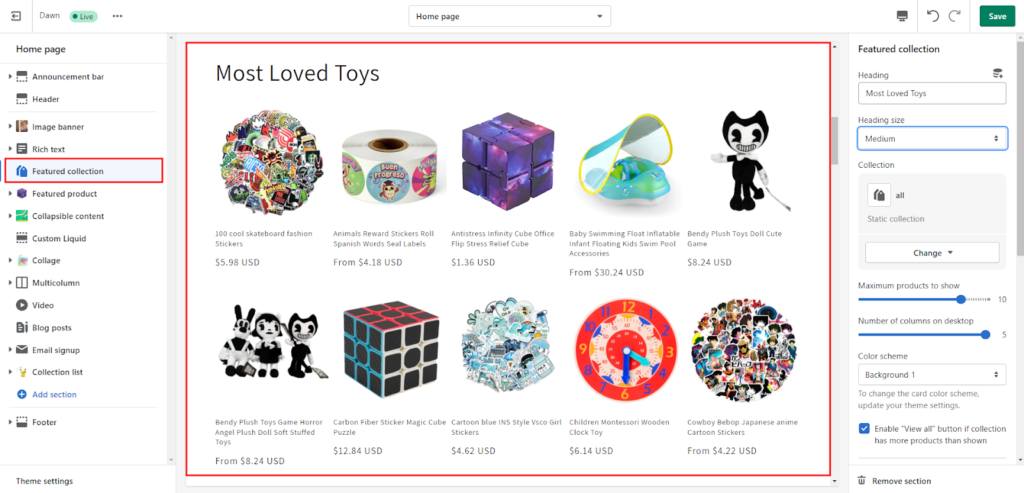
Image banner
With the image banner section, you can place an attractive banner anywhere on your page. This section helps you to add a banner with up to 2 images, text, and up to 2 CTA buttons.
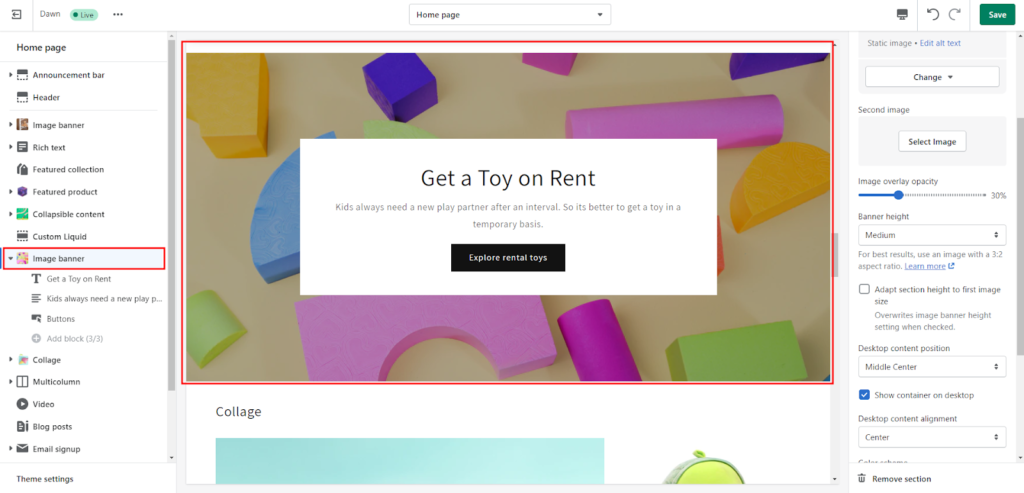
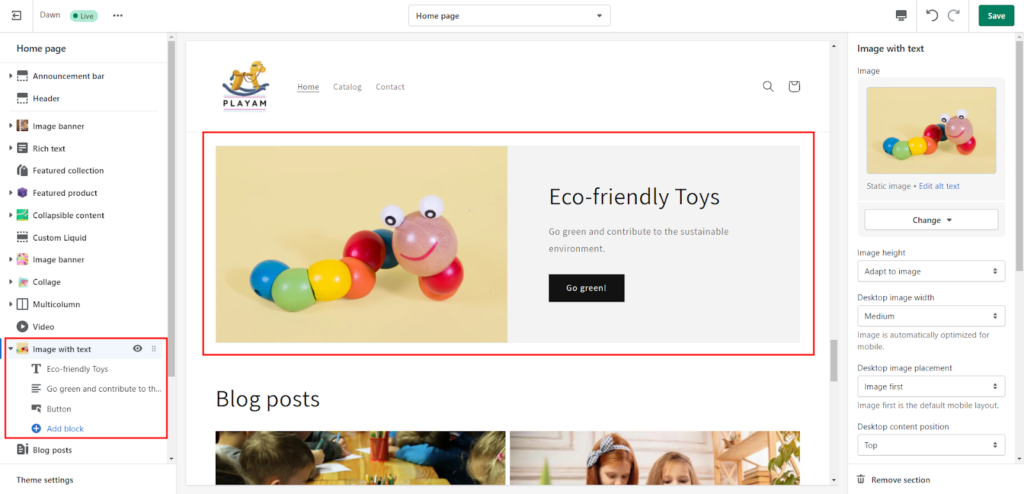
Image with text
Image with text – A better way to highlight your brand, product category, or other services. This section lets you create an image with a text block that contains an optional CTA button.
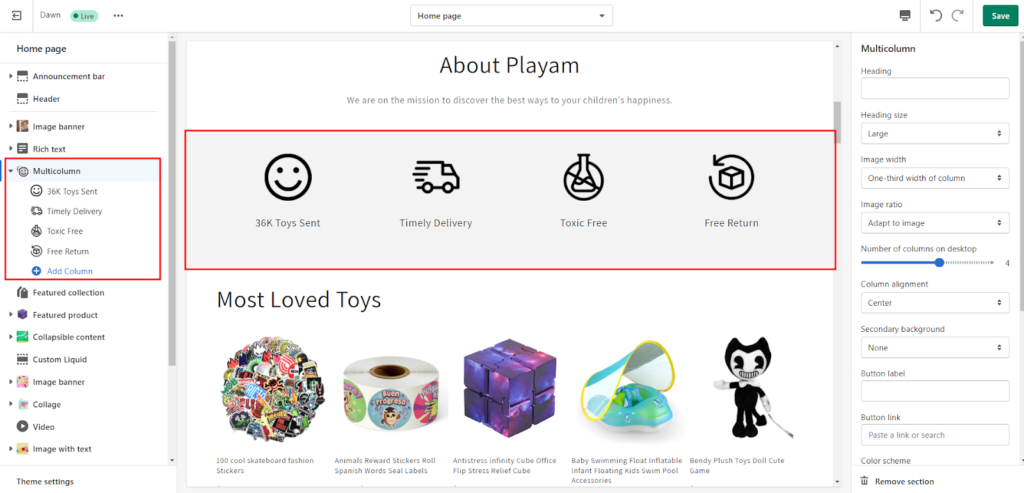
Multicolumn
The multicolumn section helps you add “Why Choose Us”, “Our Core Values” or other highlights about your brand. Here you can add multiple content blocks (columns) to the section.
Each block lets you add an image, text, and an optional link. Therefore, you can add the content as per you want to show the content blocks.
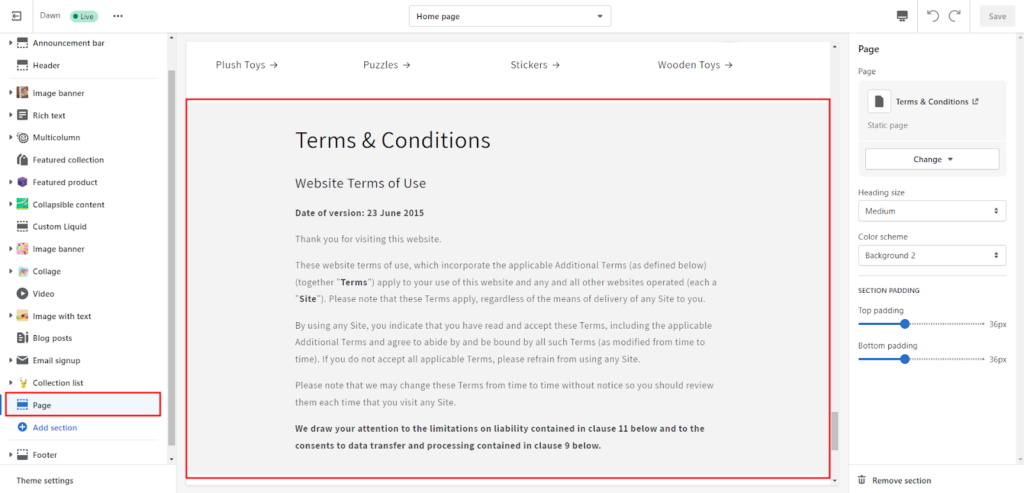
Page
The page section allows you to add custom page content anywhere in your theme template. If you want to add a page such as FAQ, Pricing table, Size chart as a section in your template, you just need to pick the existing page in this page section.
See how I’ve used the Page section to add a policy page to the Shopify store.
Rich text
The rich text section offers a better way to tell about your store with a heading, paragraph, and an optional CTA button.
With the Heading block, you can add the title of the section. With the Text block, you can describe your brand. You can also use the button block to redirect the user to another page.

Slideshow
Mostly we have seen a slideshow on the header of the home page. But, if you wish to add multiple slideshows to your page, this can be done using the slideshow section.
Using the “Slide” block you can add many images to your slideshow with an option to show banner text and CTA button on each slide.

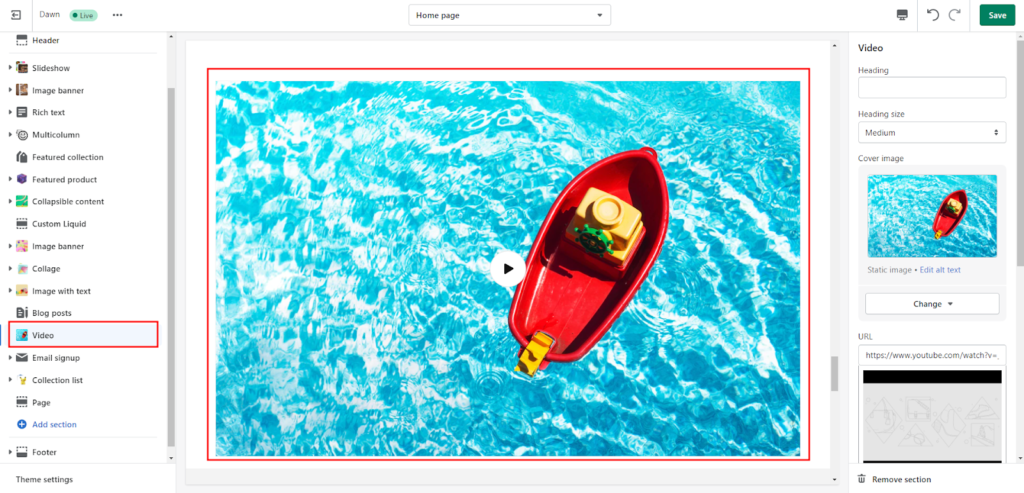
Video
Adding a video to your page is the easiest way to grab the shopper’s attention. With the help of this section, you can place a full-width video on your theme template.
You just need to provide a video URL (from YouTube or Vimeo) and select the cover image for the video section.
This is how you can easily build your storefront with the optimal use of Shopify section blocks. After getting a brief idea about the sections and their blocks, let’s learn how to customize them.
Customize your store with Shopify Section & Blocks
Customizing the theme is fun with Shopify. And with the rise of Online store 2.0, Shopify merchants have more control over every section and block. As a result, they can get better store designs with less effort.
If you feel you are not made for store designing or are too busy with other business operations to design your online store, we are here to help hold you back. You can hire our experts for your Shopify store customization and save your time and effort for the more important tasks.
Note: Before adding any section or block in your theme, make sure you are customizing the right template. You can simply choose the theme template using the dropdown menu (at the top) in the theme editor.

Now let’s check how to create a section in your theme template.
How to add a section in Shopify?
Let’s say we are on the product default template and want to add a new section to highlight the key features of the product. Here, we shall use the “multicolumn” section to achieve this.
Steps to create a section in the Shopify theme:
- Step 1: Scroll down to the end of the sections & block area (left on the theme editor) and click on Add section.

- Step 2: Select the section from the options you want to add to the template. Here we’ll select the “Multicolumn” from the list of sections.

You can also use the “search” option to find the section if you cannot find the section in the list.
Every time you add a new section, you can find it above the footer section.
- Step 3: Move the new section anywhere between the “Header” and “Footer” sections using the drag-and-drop feature.

Now you are free to customize the newly added section with the options available for the theme section. You may also need to add extra blocks to fill the section with enough amount of information or content.
Let’s see how to add blocks in the theme section.
Read more: Shopify Store Tutorial for Beginners: How to use Shopify
How to add a block in Shopify?
In the product template, we can see there is a default section named “Product Information”. It already has many blocks added by default. But it still offers an option to add a new block.
Now we shall add a new block for product reviews in the product information section.
Steps to create a block in the Shopify theme:
- Step 1: In a section, click on Add block. This will open a list of various types of blocks.
- Step 2: Select a block from the option. We shall use the “Product rating” block here.
Same as the section search option, you can use the “block search” option. You can find the new block added at the bottom of the section.
- Step 3: Move the new block within the section using drag and drop. We shall place the “Product rating” block next to the product title.

- Step 4: Now fill the block with the required data.
- Step 5: Once the block is prepared with the content, save the change.
This way you can add as many blocks to the section as you want (based on the maximum block limit).
You can also remove the sections or blocks that are no longer needed in your theme template. Let’s see how to do that.
Must read: Shopify Landing Page: A Guide to Create a Landing Page that Converts
How to remove a section or block?
Let’s say the product default template has an “Image with text” section which is not required now. So we can either hide it or remove it from the template. You can simply hide the Shopify section and blocks by clicking on the eye icon beside the section or block.
Steps to remove a section or block in Shopify:
- Step 1: In the Shopify theme template, click on the section or block that you want to permanently delete.
- Step 2: Click on the Remove Section or Remove block button that appears at the bottom of the side panel of the theme editor.
- Step 3: Save the changes.
This is how you can customize your store design with the help of Shopify section blocks.
What if we could show different content based on the different products or collections using these sections or blocks? The good news is that showing dynamic content is possible by connecting the Shopify metafields with the section & blocks.
Let’s see how to do that!
Display Dynamic Content using Shopify Sections & Blocks
When you enter data directly in the template using the theme editor, it remains static for all the product pages or collections.
For example, suppose you want to show expected shipping days on the product page that should vary based on the different products. But if you add this directly to the product template, it will show the same data for all the products.
Therefore, to show dynamic data on your store, you can use the metafields with the sections or blocks.
Shopify offers different types of metafields to hold custom data for various parts of your online store. For example, the product metafields are used to store data about the products, the variant metafields are used to store information about the product variants, and so on.
For showing these metafields data on your storefront, first, you need to create them. This includes:
- Defining the Shopify metafields you need to create for, i.e. products, collections, variants, customers, and orders.
- Adding values to the metafields from the Shopify store admin.
After this, you can connect the metafields to the section or block to show the dynamic data on your online store. Let’s see how to do that with step by step guide.
Also read: Shopify Product Page: 7 Best Customization Tips With Examples
Connecting the Metafields to Shopify Section Blocks
Here let’s consider that we have created a product metafield that holds the “Estimate shipping days” for the products as shown below.

Also, we have added values to this metafield for different products.

Now we’ll link this product metafield (Estimate shipping days) to our Shopify 2.0 themes using the Shopify dynamic sources feature.
Follow the steps below to connect dynamic data to your theme:
- Step 1: Open the theme editor from your Shopify store admin.

- Step 2: Open the template (from the dropdown menu), in which you want to connect the metafield. Here, we will select the “product” default template.

- Step 3: Add a section or block to add the dynamic content source using metafield. We’ll add a text block in the “Product Information” section.
- Step 4: Move the newly added block or section where you want to show the metafield data. We’ll place the text block below the quantity picker.

- Step 5: Click on the dynamic source icon to connect the block or section with the metafield.

- Step 6: Select the metafield you want to insert the metafield value to the Shopify section or blocks. Here, we’ll select the “Estimate shipping days” that we recently created.

- Step 7: Click on the “Insert” button after selecting the metafield.
- Step 8: Add supporting content or customize the section or block to represent the metafield value in a better way.

- Step 9: Save the changes.
That’s it. This is how we can show different content using the metafield with Shopify section blocks.
Conclusion
Here we learned about the Shopify sections and blocks in detail. Shopify gives you more control over theme customization by allowing the sections and blocks in the entire theme. As a result, you can easily now achieve the storefront that you dreamed of.
Hope this guide helped you understand how to customize the online store using the Shopify section blocks. For more information, you can explore our other blogs or ask us directly via contacting us.